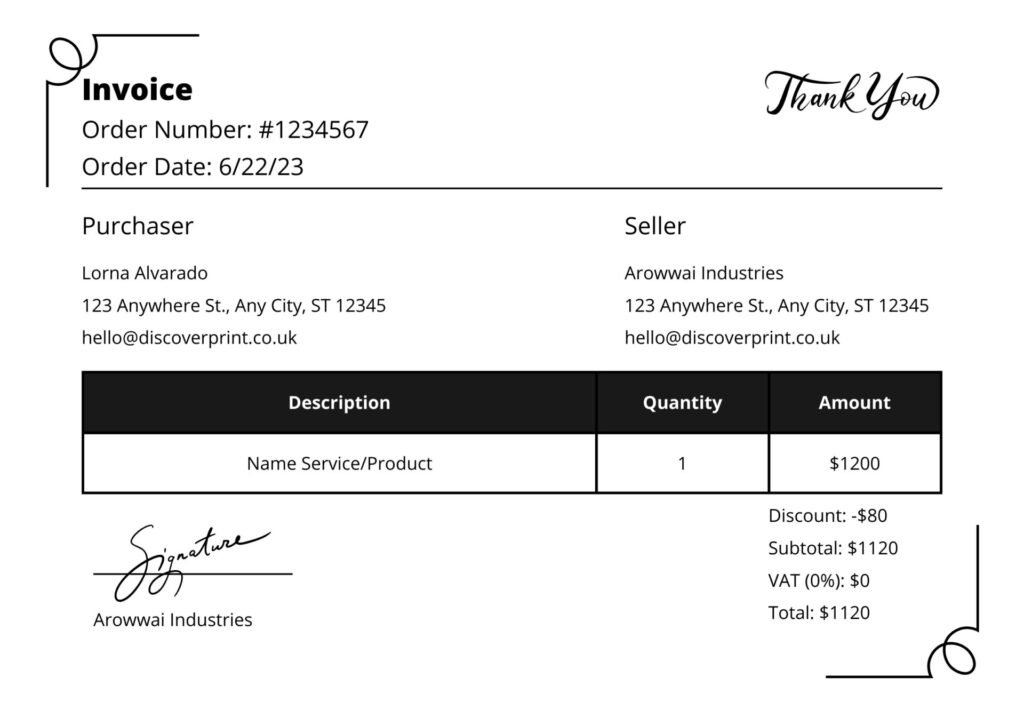
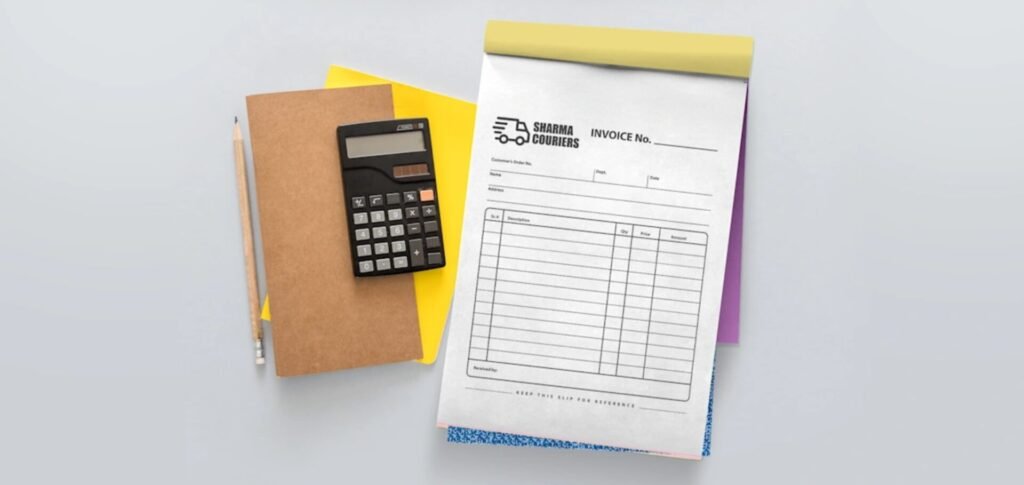
Invoices are crucial for any business, serving as a formal request for payment for products or services provided. While many businesses have moved towards digital invoicing, traditional invoice books remain a staple, particularly for small businesses, freelancers, and professionals who value tangible records. In this guide, we’ll walk you through the process of properly filling out an invoice book to ensure accuracy, professionalism, and compliance with financial best practices.

Step 1: Gather Necessary Information
Before you start filling out your invoice book, ensure you have all the required information at hand. This includes:
- Your business name, address, and contact details
- Client’s name, address, and contact details
- Description of goods or services provided
- Date of the invoice
- Invoice number
- Payment terms and due date
Also Read : How Personalised Invoice Books Improve Record Keeping and Organisation
Step 2: Fill in Your Business Details
At the top of the invoice, clearly write your business name, address, and contact information. This ensures your client knows exactly who the invoice is from and how to get in touch with you if needed.
Step 3: Include the Client’s Information
Next, write the client’s name, address, and contact details. Double-check this information to avoid any delays in payment due to incorrect billing details.
Step 4: Assign an Invoice Number
Every invoice should have a unique invoice number. This helps in tracking invoices and payments. Develop a numbering system that makes sense for your business, such as starting from 001 and incrementing with each new invoice.
Step 5: Date the Invoice
Include the date when the invoice is issued. This is crucial for both your records and the client’s. It also helps in determining the due date for payment.
Step 6: Itemize the Goods or Services Provided
List each product or service provided along with a brief description. Include the quantity, unit price, and total price for each item. This level of detail helps in avoiding disputes and ensures transparency.
Step 7: Calculate Subtotals and Total Amount Due
After listing all items, calculate the subtotal by adding up the total prices of all listed items. If applicable, include any discounts, taxes, or additional charges to get the final amount due.
Step 8: Specify Payment Terms and Due Date
Clearly state the payment terms and due date. For example, “Payment due within 30 days of invoice date.” This sets clear expectations for the client and helps in timely payment.
Step 9: Provide Payment Instructions
Include instructions on how the client can make the payment. This could be your bank account details, PayPal information, or any other payment methods you accept.
Step 10: Add Any Additional Notes
If there are any special instructions or notes for the client, such as thanking them for their business or noting any return policies, include them at the bottom of the invoice.
Step 11: Review for Accuracy
Before handing over the invoice, review all the information for accuracy. Ensure all details are correct and that the math adds up. This step helps in avoiding mistakes that could delay payment.
Also Read : What are Custom Invoice Books?
Conclusion
Properly filling out an invoice book is essential for smooth business operations. By following these steps, you can ensure your invoices are professional, accurate, and clear, leading to timely payments and better financial management. Whether you’re a small business owner or a freelancer, mastering the art of invoicing is a vital skill that contributes to your business’s success.
Call to Action
Need custom invoice books for your business? Visit DiscoverPrint to explore our range of high-quality, customizable invoice books that can be tailored to your specific needs. Order now and keep your business running smoothly!


